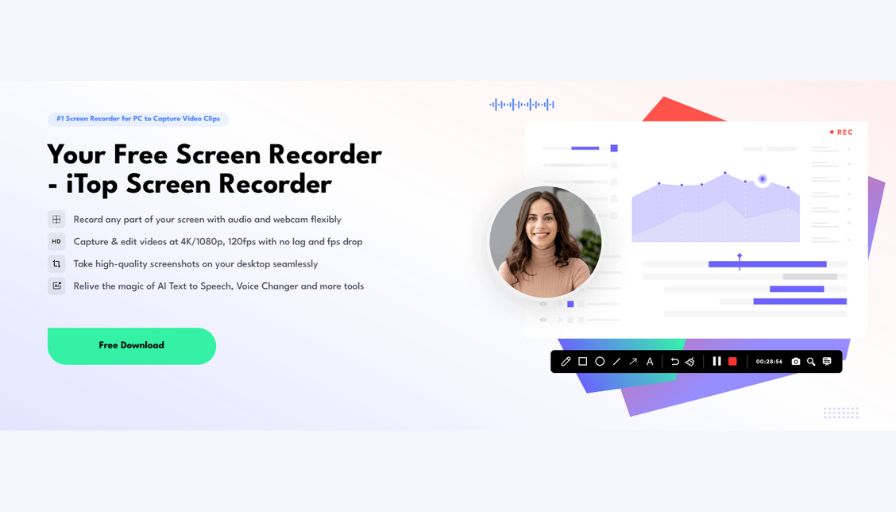
In today’s digital world, live-streamed events are everywhere — from gaming tournaments and online concerts to webinars and virtual conferences. But what if you want to save these moments to revisit later or share them with others? That’s where iTop Screen Recorder steps in — a powerful, free, and easy-to-use screen recording tool that helps you capture every detail in stunning quality.
Why Choose iTop Screen Recorder
Before we dive into the steps of recording a live stream, let’s take a closer look at what makes iTop Screen Recorder stand out.


1. Record Any Part of Your Screen Flexibly
 Whether you’re streaming a YouTube concert, a Twitch gaming session, or a live Zoom meeting, iTop Screen Recorder lets you capture exactly what you need. You can record the entire screen, a specific window, or a custom region, all while including your microphone and webcam if needed. This flexibility makes it perfect for both personal use and professional content creation.
2. Capture and Edit Videos at 4K/1080p, 120fps
Performance matters when you’re recording high-quality content. iTop Screen Recorder supports up to 4K resolution and 120fps, ensuring your videos look smooth and crystal clear without lag or frame drops. This feature is especially useful for gamers and streamers who need precise visuals for fast-paced content.
3. Take High-Quality Screenshots Seamlessly
Sometimes, you don’t need a full video — just a quick snapshot. With iTop Screen Recorder, you can capture high-quality screenshots directly on your desktop at any time. Whether it’s a key moment in a live stream or a slide from an online presentation, it’s done in one click.
4. Relive the Magic of AI Tools
Beyond recording, iTop Screen Recorder brings creativity to the next level with its AI-powered tools. You can use AI Text-to-Speech to narrate your videos naturally, AI Voice Changer to add fun or professional voice effects, and other tools to make your content more engaging. It’s not just about recording — it’s about storytelling.
Step-by-Step Guide: How to Record Live-Streamed Events
Now that we know what iTop Screen Recorder can do, let’s walk through how to use it to record your favorite live-streamed events effortlessly.
Step 1: Download and Install iTop Screen Recorder
Visit the official iTop Screen Recorder website and click Free Download. The installation is quick and lightweight — just follow the on-screen instructions. Once installed, launch the program.
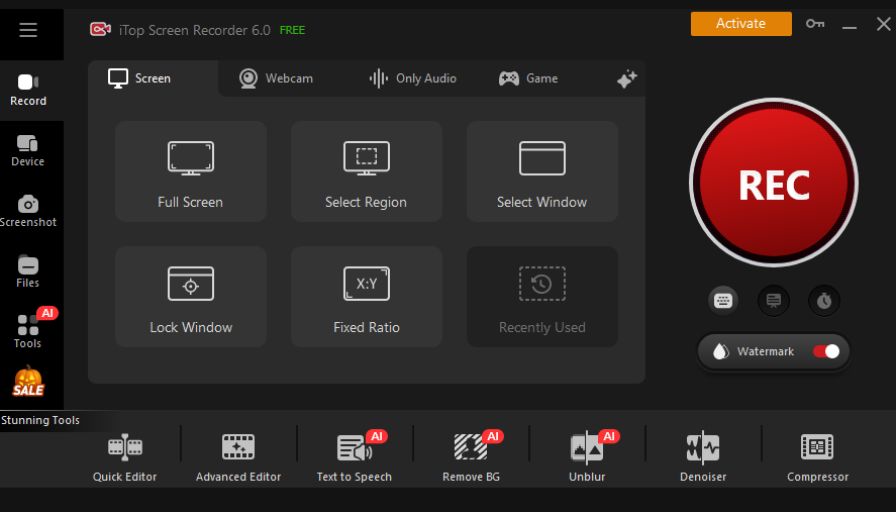
Step 2: Choose the Recording Area
On the main interface, you’ll see options to record the Full Screen, Select Region, or Window.
If you’re watching a live event in a browser, it’s usually best to select the browser window directly. This way, your recording will stay clean and focused on the stream.
Step 3: Enable Audio and Webcam (Optional)
Below the recording area options, you’ll find toggles for Speaker, Microphone, and Webcam.


- Turn on the Speaker to capture the event’s sound.
- Enable the Microphone if you want to add your commentary.
- Turn on the Webcam if you plan to appear in the video — ideal for reaction videos or tutorials.
iTop Screen Recorder ensures audio-video sync and clear recording even during long sessions.
Step 4: Adjust Video Settings
Before hitting “REC,” go to Settings > Format to customize your video output. You can choose:
- Resolution: up to 4K
- Frame rate: up to 120fps
- Format: MP4, AVI, FLV, MOV, MKV, or TS
These options give you full control over quality and file size, depending on your needs.
Step 5: Start Recording
Once your live stream is ready, click the REC button. A short countdown appears, then the recording begins.
During recording, you can use hotkeys (default: F9 to start/stop, F10 to pause/resume, F11 for screenshots) — handy for capturing highlights without missing a second of the event.
If the live event lasts hours, don’t worry — iTop Screen Recorder is optimized for long sessions without lag or crashes.
Step 6: Edit and Save Your Recording

After stopping the recording, your video will appear in the My Creations list. From here, you can:
- Trim unwanted parts (like waiting screens or breaks)
- Add music, subtitles, or filters
- Use AI tools to enhance narration or adjust voice tone
The built-in video editor is intuitive, so you can polish your video before sharing or archiving.
Step 7: Share or Store Your Recording
Once you’re satisfied with your recording, export it in your preferred format. You can then upload it to YouTube, TikTok, or Google Drive, or simply keep it as a backup for offline viewing.
Pro Tips for Recording Live Events Smoothly
To make your live-stream recordings even better, here are a few pro tips:
- Close background apps before recording to reduce CPU usage.
- Use a stable internet connection to avoid interruptions during live streams.
- Test your settings with a short recording first, ensuring audio and video sync perfectly.
- Enable hardware acceleration in settings if you have a modern GPU — it improves performance.
With these small tweaks, your recordings will stay crisp, smooth, and professional.
Final Thoughts
Recording live-streamed events used to be a challenge — lagging software, poor quality, and missing audio were common issues. But with iTop Screen Recorder, you can finally record any live stream in full clarity, with flexible control, advanced AI tools, and built-in editing features.
Whether you’re saving your favorite online concert, documenting a webinar for work, or capturing gaming highlights, iTop Screen Recorder ensures you never miss a moment. It’s more than a recorder — it’s your all-in-one solution for creating and preserving digital memories.