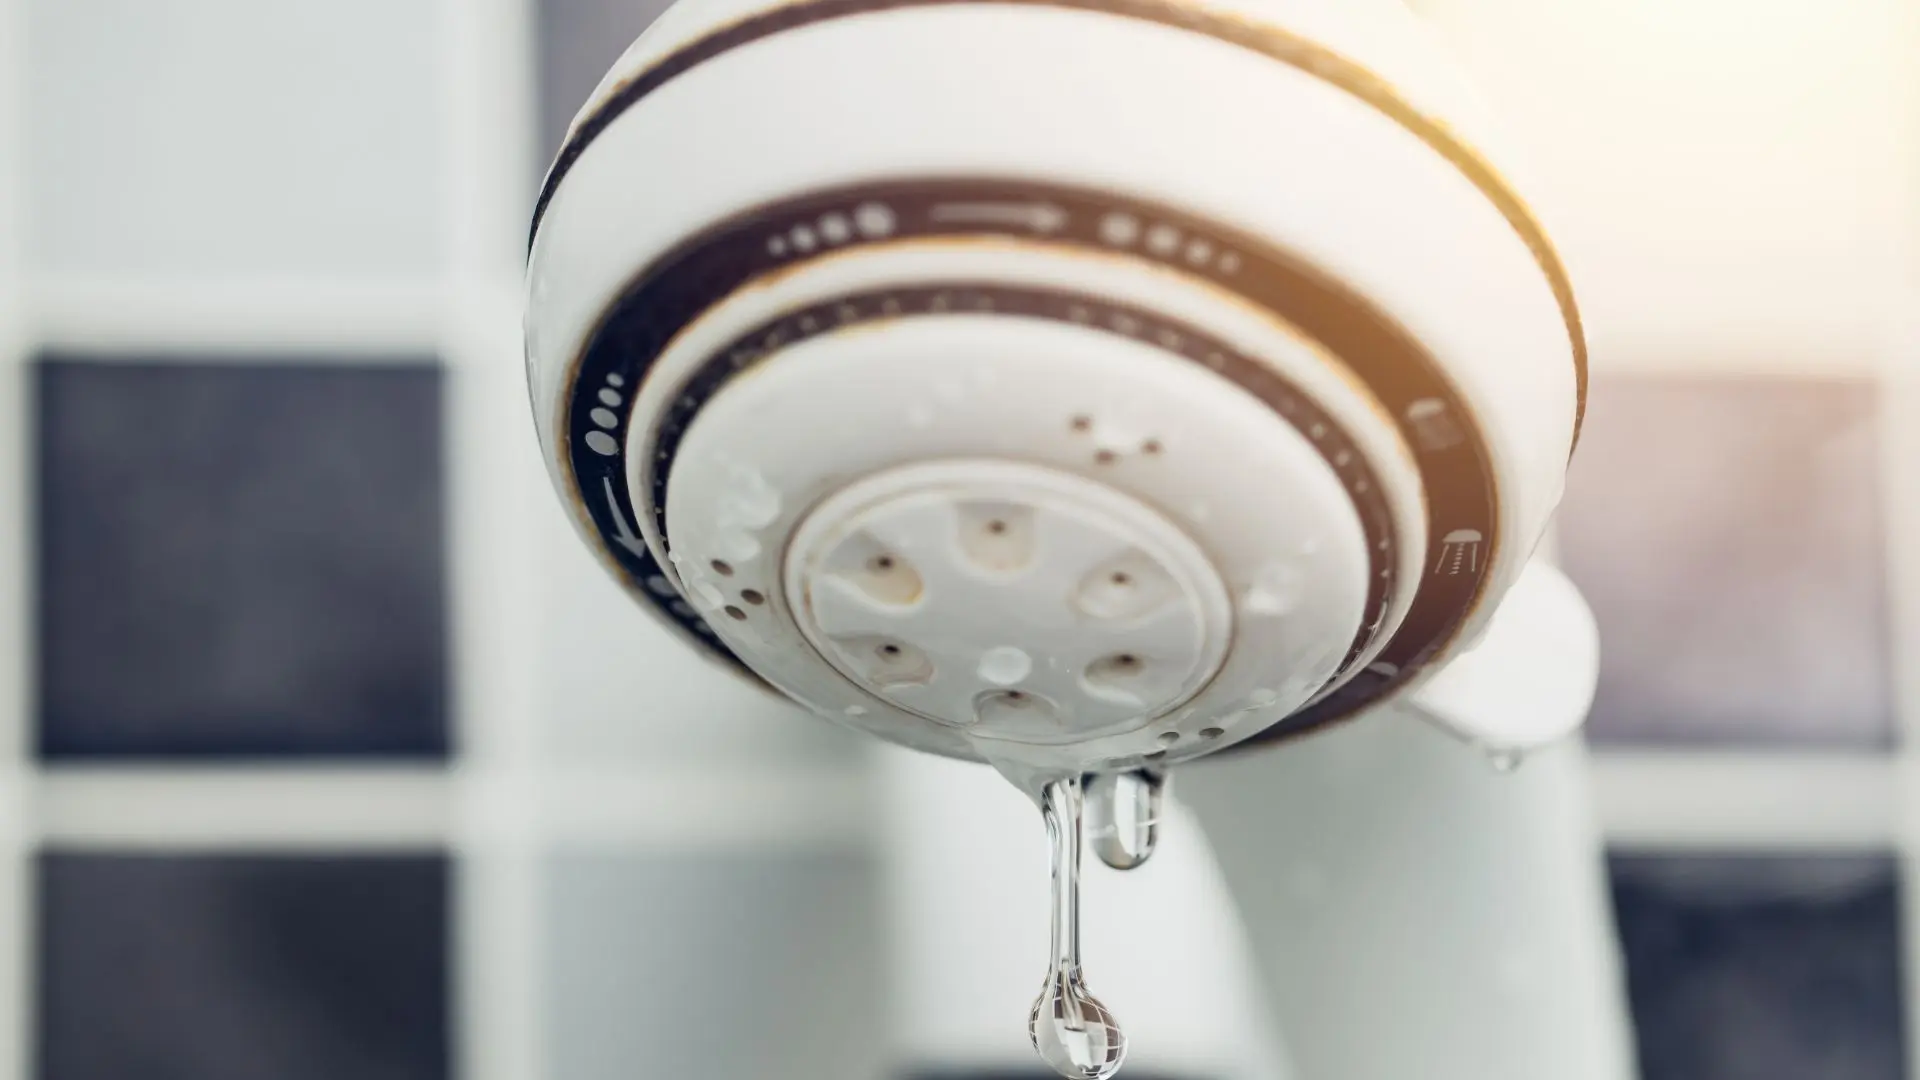
Keeping your bathroom neat, dry, and well-maintained can feel like a full-time job. Between the daily wear and tear, humidity, and the constant flow of water, small problems like leaks can quickly turn into expensive repairs if ignored. But what if the secret to stopping one of the most common bathroom issues — a leaking shower door — could be solved with one simple DIY fix?
Yes, you read that right. That small strip at the base of your shower door, often overlooked and underappreciated, holds the key to preventing water from escaping onto your bathroom floor. It’s known as the plastic for bottom of glass shower door, and it can save you a surprising amount of money, time, and stress.


In this guide, we’ll uncover how this simple yet clever piece of hardware can make your bathroom more efficient, cleaner, and safer — all without hiring a professional or breaking the bank.
Understanding Why Shower Door Leaks Happen
Before we dive into the fix, it’s important to understand why leaks happen in the first place. A glass shower door is designed to keep water inside the shower cubicle, but over time, the seal at the bottom wears out. This happens because of constant exposure to moisture, soap residue, and cleaning chemicals.
As the seal weakens, water starts finding its way out, pooling around the shower area, and seeping into corners where mould and mildew thrive. Not only does this create an unsightly mess, but it can also damage tiles, flooring, and grout.
What starts as a tiny leak can eventually cost you hundreds of pounds in repair and maintenance if left unchecked. That’s why identifying the problem early and replacing the old seal with plastic for bottom of glass shower door is such a clever move.
The Simple Fix That Works: A Plastic Seal for Your Shower Door
The solution is both simple and affordable — replace the worn-out seal at the bottom of your shower door with a new one. The plastic for bottom of glass shower door acts as a protective barrier, ensuring that water stays where it belongs — inside the shower enclosure.
This type of seal is usually made of clear PVC or vinyl, both of which are durable and flexible. It’s designed to clip snugly onto the edge of your glass door, forming a tight seal along the floor or shower tray. As you close the door, it prevents splashes or drips from escaping.
Installing a new seal doesn’t require any special tools or professional help. Most homeowners can do it in less than half an hour. It’s one of the easiest and most rewarding DIY projects you can tackle, offering instant results.
Why You Shouldn’t Ignore Shower Door Leaks
A small leak might not seem like a big deal at first. You might even think wiping up the puddle after every shower is easier than fixing it. However, ignoring the problem can lead to long-term issues.


Here’s what can happen if you delay the fix:
- Mould and mildew growth – Constant moisture encourages mould spores, which not only look unpleasant but can also cause health problems.
- Tile damage – Water seeps under tiles, loosening adhesive and causing cracks over time.
- Rotting floorboards – If your bathroom floor is wooden, water leaks can cause serious damage beneath the surface.
- Increased cleaning time – Water stains and soap residue become harder to manage.
Replacing that small piece of plastic for bottom of glass shower door can prevent all of these problems in one go.
Step-by-Step Guide to Replacing Your Shower Door Seal
One of the best things about this DIY project is its simplicity. Here’s how to do it yourself:
Step 1: Measure Your Shower Door
Before buying a replacement seal, measure the thickness of your glass door. Most shower doors are between 4mm and 8mm thick, but it’s important to check. The seal needs to fit snugly for maximum effectiveness.
Step 2: Remove the Old Seal
Gently pull off the existing seal from the bottom of your door. It should slide off easily. Clean the glass with a mild soap solution to remove dirt, limescale, and any residue. Let it dry completely before fitting the new seal.
Step 3: Fit the New Seal
Take your new seal and align it with the bottom edge of the door. Gently push or clip it on. If the seal is longer than needed, simply trim it with scissors or a utility knife for a perfect fit.
Step 4: Test for Leaks
Once fitted, close the shower door and run some water. Observe whether any water escapes. If installed correctly, your bathroom floor should stay dry.
That’s it! You’ve successfully stopped your shower from leaking — all in under 30 minutes.
Benefits of Using a High-Quality Shower Door Seal
Choosing the right replacement makes a huge difference. A high-quality plastic for bottom of glass shower door comes with several benefits:
- Durability – Quality seals are resistant to soap scum, mould, and general wear.
- Clarity – Clear plastic maintains the sleek, modern look of your bathroom.
- Flexibility – It fits easily and maintains its shape over time.
- Watertight Protection – It ensures complete protection against leaks and puddles.
These seals are often designed to be compatible with a variety of glass doors — sliding, hinged, or frameless — making them a versatile option for nearly any shower design.
Choosing the Right Type of Shower Door Seal
There are a few different types of shower door seals, so choosing the right one is essential. Here are the most common varieties:
1. Straight Bottom Seals
These are the simplest type, ideal for flat shower trays. They create a tight seal directly between the glass and the floor.
2. Drip Rail Seals
These come with an extended lip that helps redirect water back into the shower. They’re excellent for preventing splashes and drips.
3. Magnetic Seals
Often used on sliding or double doors, these create a magnetic closure to ensure there’s no gap between panels.
4. Corner Seals
Designed for curved or corner shower enclosures, these flexible seals follow the curve of your shower’s shape.
By knowing your door type, you can easily find a perfect match for your bathroom setup.
The Cost-Effective Choice for Every Home
One of the biggest advantages of fixing your shower door leak with a seal is how cost-effective it is. A professional plumber might charge anywhere from £100 to £250 for what’s essentially a small, straightforward repair.
In contrast, a replacement plastic for bottom of glass shower door typically costs between £8 and £20, depending on size and material. That’s a fraction of the cost and gives you the satisfaction of a quick DIY win.
Over time, this small investment pays off by reducing the risk of bigger water damage expenses. It’s one of those fixes that makes you wonder why you didn’t do it sooner.
Keeping Your Shower Leak-Free: Maintenance Tips
Once you’ve installed your new seal, you can extend its lifespan by maintaining it properly. Here are some simple tips:
- Wipe it dry after every shower. This prevents soap scum and limescale build-up.
- Clean weekly with mild cleaner. Avoid harsh chemicals that could weaken the plastic.
- Inspect regularly. Check for any cracks, stiffness, or discolouration. Replace it every 12–18 months for best performance.
- Ventilate the bathroom. Good airflow reduces mould and moisture build-up around the seal.
By adding these small habits into your cleaning routine, you’ll keep your bathroom looking and performing at its best.
The Environmental Benefit of DIY Fixes
Beyond saving money, fixing your shower leaks yourself is also an eco-friendly move. Every drop of water that leaks out adds up — not just in cost, but also in waste.
By installing a new plastic for bottom of glass shower door, you reduce unnecessary water wastage. You also extend the life of your bathroom fixtures, which means fewer materials end up in landfills. Small DIY changes like this contribute to a more sustainable home overall.
Style Meets Function: A Cleaner Bathroom Aesthetic
A properly fitted seal doesn’t just stop leaks — it also improves the look of your bathroom. Clear PVC seals blend seamlessly with modern glass designs, keeping your bathroom clean and minimalistic.
If you’ve invested in a sleek frameless shower door, a transparent seal ensures that nothing distracts from its elegant finish. It’s a tiny detail, but it plays a major role in maintaining a polished look.
For homeowners who take pride in keeping their bathrooms spotless, this is one upgrade that adds both form and function.
When to Replace Your Shower Door Seal
Even the best seals don’t last forever. The average lifespan of a shower door seal is around one to two years, depending on usage and cleaning habits.
You should replace the seal when you notice:
- Water pooling outside the shower after use
- Visible cracks or splits in the plastic
- The seal becoming stiff, cloudy, or yellowed
- Gaps between the door and the shower tray
Replacing it before a full failure prevents costly damage and keeps your bathroom safe from slippery floors.
DIY Success Stories: Homeowners Who Made the Change
Many homeowners who replaced their shower seals report immediate improvements. Some even said their bathrooms looked brand new again.
Take Lisa, for example, from Manchester. She had been struggling with puddles around her shower for months. After replacing the seal herself, she was amazed at how simple it was. “I wish I’d done it sooner,” she said. “It only cost me £10 and took 20 minutes!”
Stories like Lisa’s show how empowering small DIY fixes can be. With minimal effort, you can achieve professional-level results — and the confidence that comes with maintaining your own home.
Troubleshooting Common Issues
Sometimes, even with a new seal, a few minor issues can arise. Here’s how to handle them:
- Water still leaking? Check if the seal is aligned correctly. A small gap can cause drips.
- Seal slipping off? Try cleaning the glass again before refitting; residue can affect grip.
- Door not closing properly? Trim the seal slightly if it’s too long or thick.
- Discolouration? Use a mild vinegar solution to clean off limescale build-up.
Most problems are quick to solve and don’t require professional assistance.
The Small Fix That Makes a Big Difference
Home maintenance doesn’t always have to be expensive or complicated. Sometimes, the simplest solutions are the most effective. The plastic for bottom of glass shower door is a perfect example — a low-cost, high-impact fix that keeps your bathroom looking and functioning beautifully.
It saves you money, reduces water waste, protects your flooring, and adds a finishing touch to your bathroom design. Plus, it’s easy enough for anyone to install — no plumbing experience required.
Final Thoughts
Whether you’re a homeowner, renter, or simply someone who loves a clean, efficient bathroom, this small upgrade is a must. Replacing your shower door seal is one of the smartest, most practical DIY tasks you can do this year.
It prevents leaks, keeps your bathroom hygienic, and saves you from unnecessary repair bills — all thanks to one simple strip of plastic for bottom of glass shower door.